This topic describes how to get started with Tuya Panel SDK development.
Scan the QR code to download the RN Panel Dev app, and register a new user.
Tuya provides a series of scaffold panel projects for rapid development. The specific code is hosted in Github, you can clone or download to local download a copy to a local computer, or go to view the introduction of existing scaffold panel projects.
The code of UI functional component library for Tuya panel development is hosted on Github, you can clone or download a copy to a local computer.
Scan the QR code with the RN Panel Dev app to see the current open components for accelerating software development.

Tuya provides an official command-line tool (CLI), which is deeply integrated with the Tuya panel customization collaboration platform. The installation command is as follows, and make sure to install the tool.
MacOS & Linux
curl -fsSL https://raw.githubusercontent.com/tuya/tuya-panel-cli/main/install.sh | sh
**Note: ** The first installation requires setting environment variables according to the prompts.
Windows Powershell
iwr https://raw.githubusercontent.com/tuya/tuya-panel-cli/main/install.ps1 -useb | iex
Run the command tuya-panel-cli help to see if all available commands are printed to verify whether it is successfully installed.
Note:
iwrcommand is not available under lower version of Powershell, please refer to iwr cannot be recognized (Windows) solve.
$ tuya-panel-cli init [projectName]
$ cd [projectName]
$ yarn && yarn start
For more information about template use and explanation, see Template Details.
For information about templates, see Scaffolding.
tuya-panel-cli upgrade
For more information about the virtual device, see Preface - Terms.
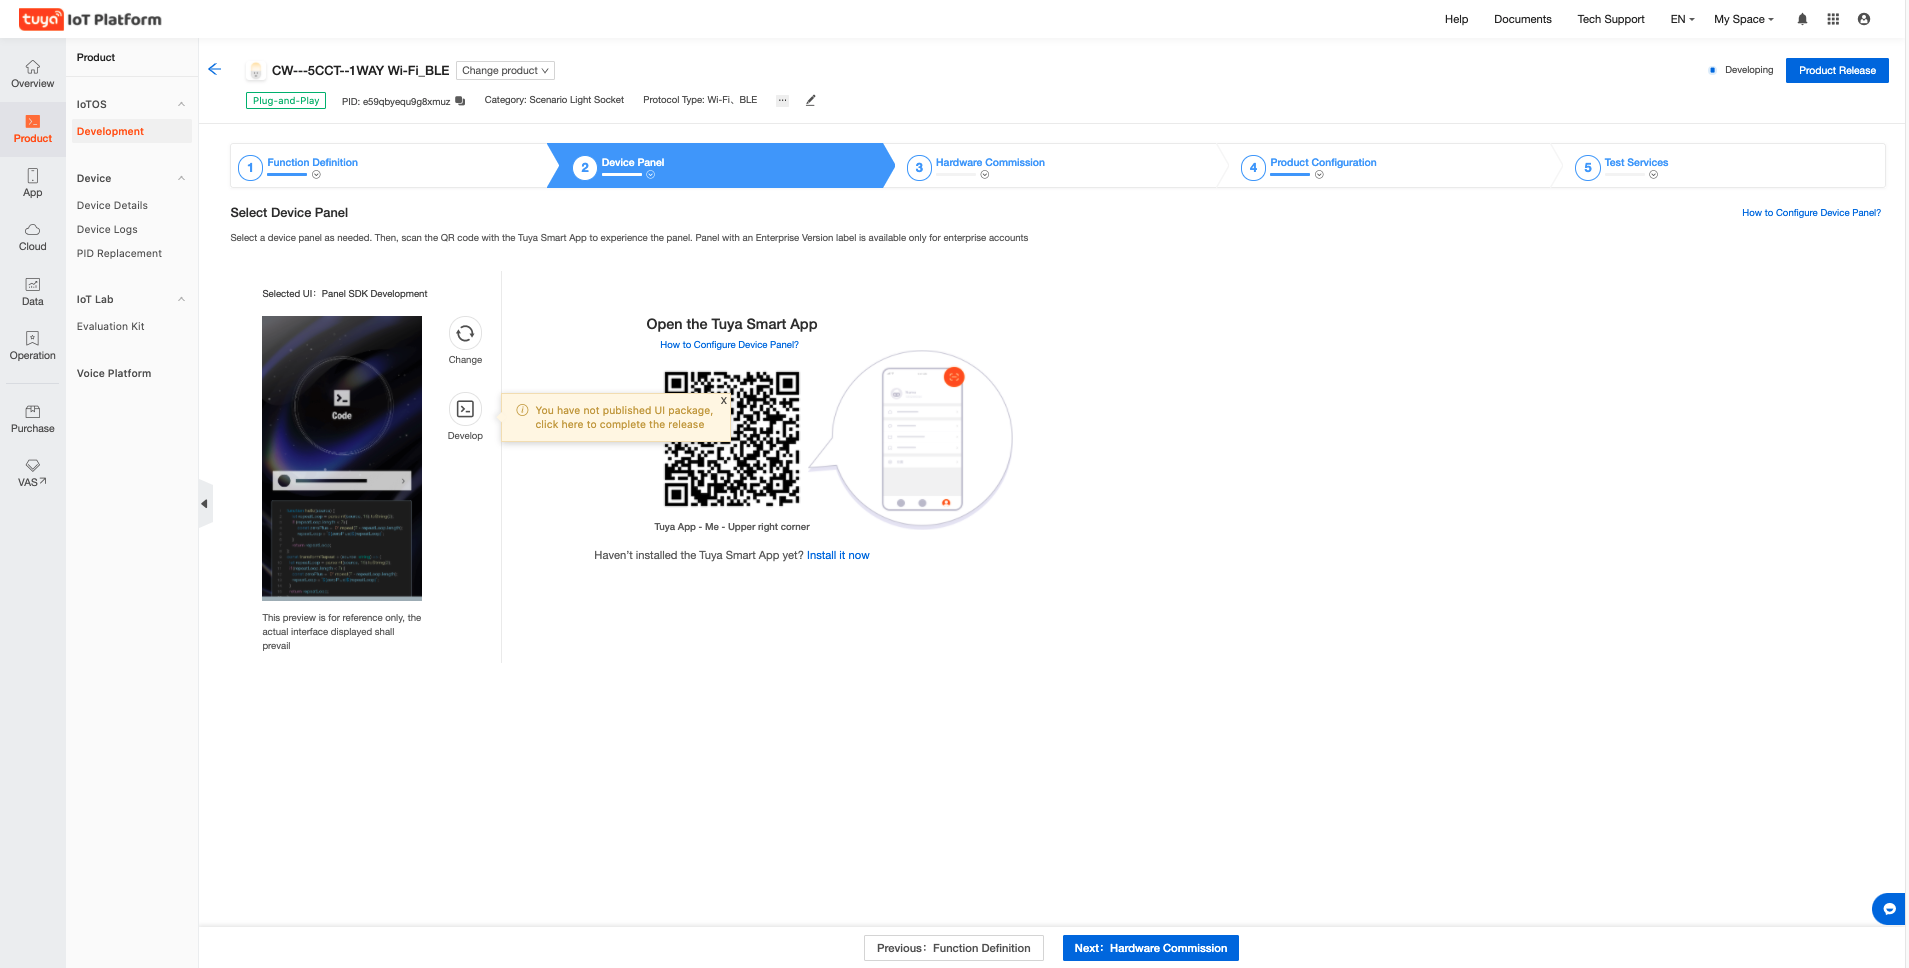
Create a product before developing a specific product. Go to the second step of creating product:
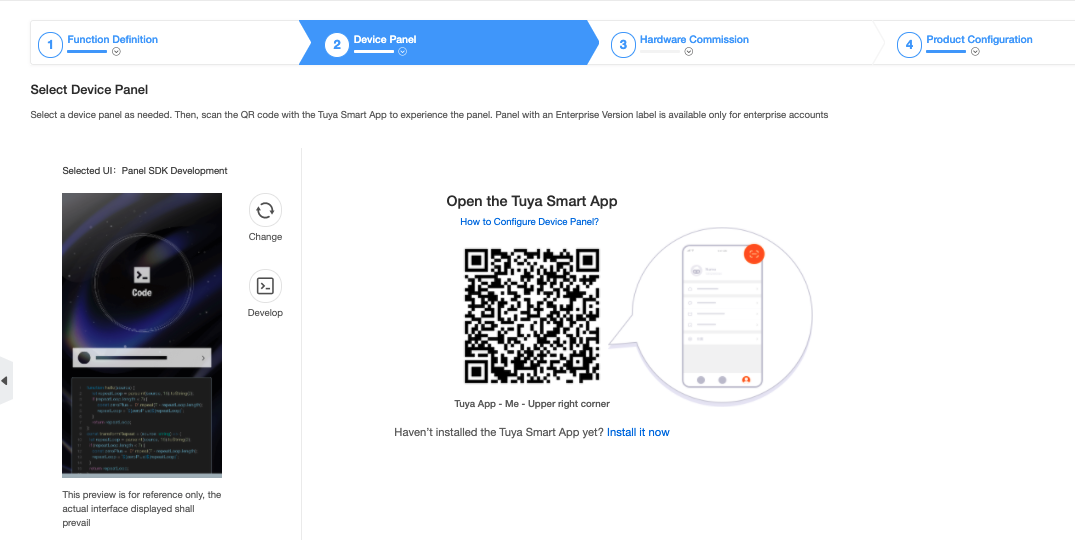
Use the RN Panel Dev app to scan the QR code and add the target virtual device to the app. After connecting the mobile phone to a local computer, you can open the virtual device’s panel in the app for debugging. See the following configuration methods below.
For more information about creating product, click here.
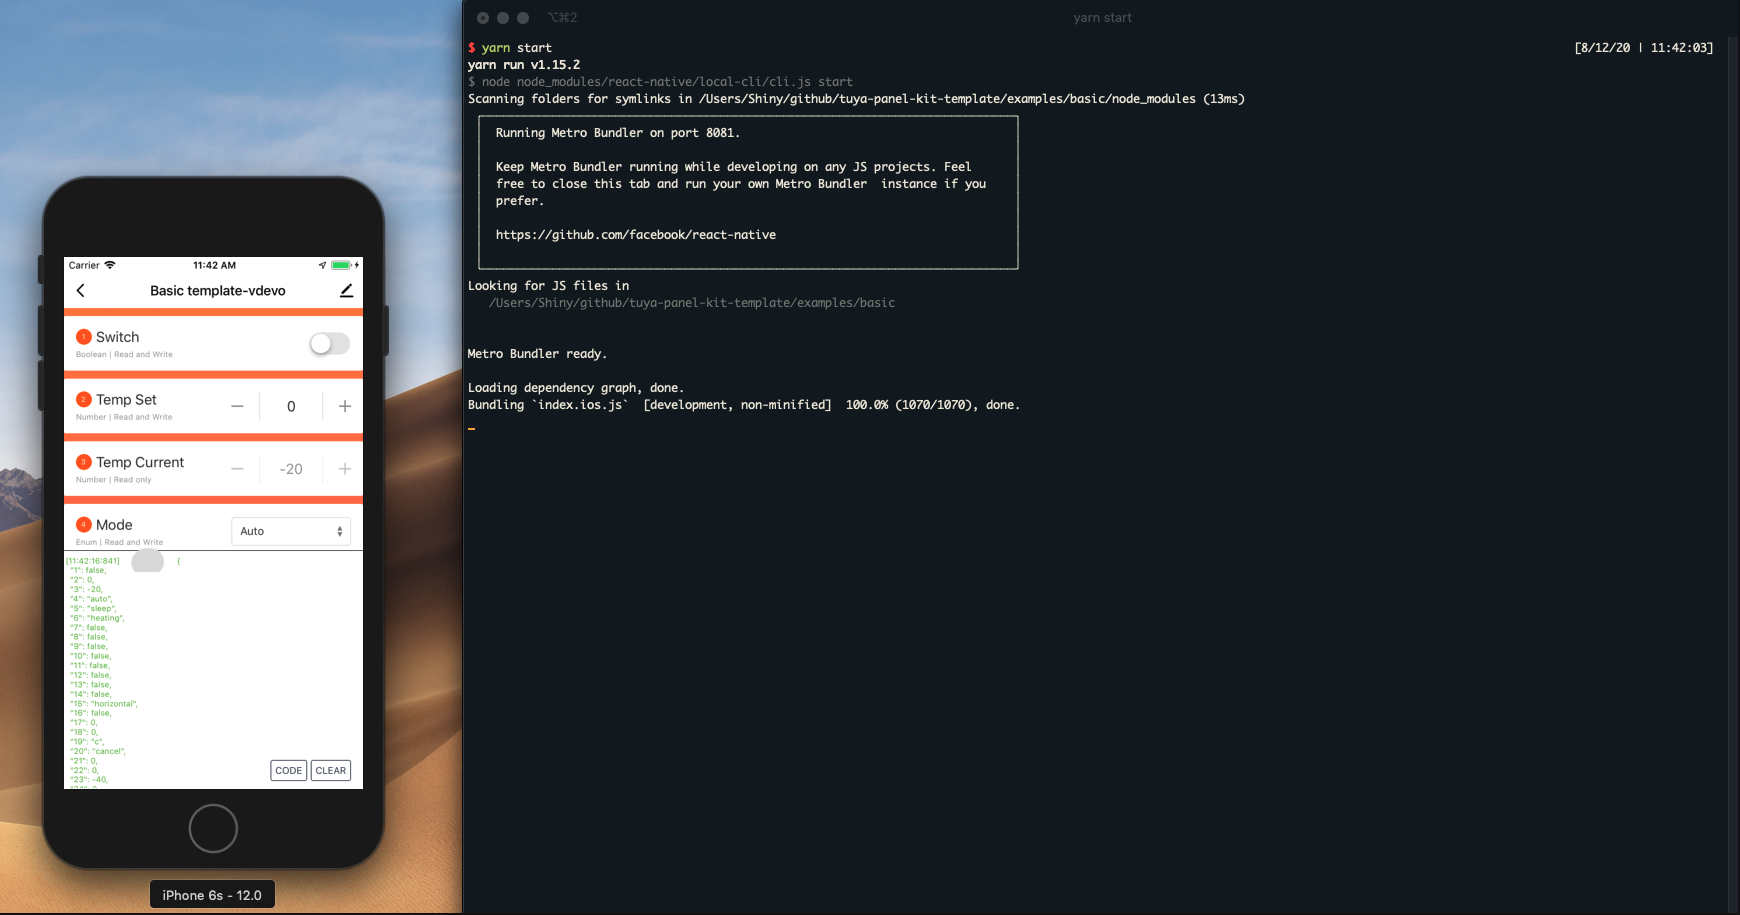
Finally based on examples/basic refer to the following figure for an example of successful template operation
After the development process is complete, run the following command to create a package:
cd {YourAwesomeProject} && tuya-panel-cli package . /
The building process will start only after the project validation is complete.
tuya-panel-cli will pack the selected project into a temporary directory in the beginning, and then it will automatically open the temporary directory when the process is complete.
The packaging will generate three UI packages. Examples of three package names are as follows:
{name}-android*{rnVersion}*{version}. tar.gz  — Android panel UI package
{name}-ios*{rnVersion}*{version}.tar.gz  —  iOS panel UI package
{name}-sources.tar.gz  —  Source package, no other actions required
Note: If errors occur in the packaging process, fix the source code errors, and then rebuild the project. Or you can turn to developer@tuya.com for help with your company name and contact information attached in your email.
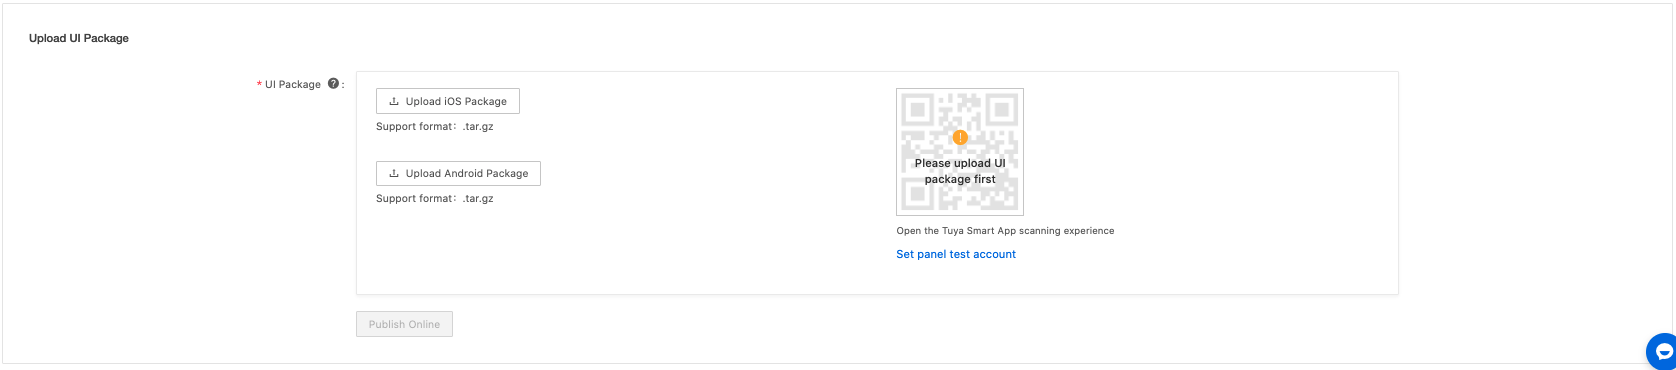
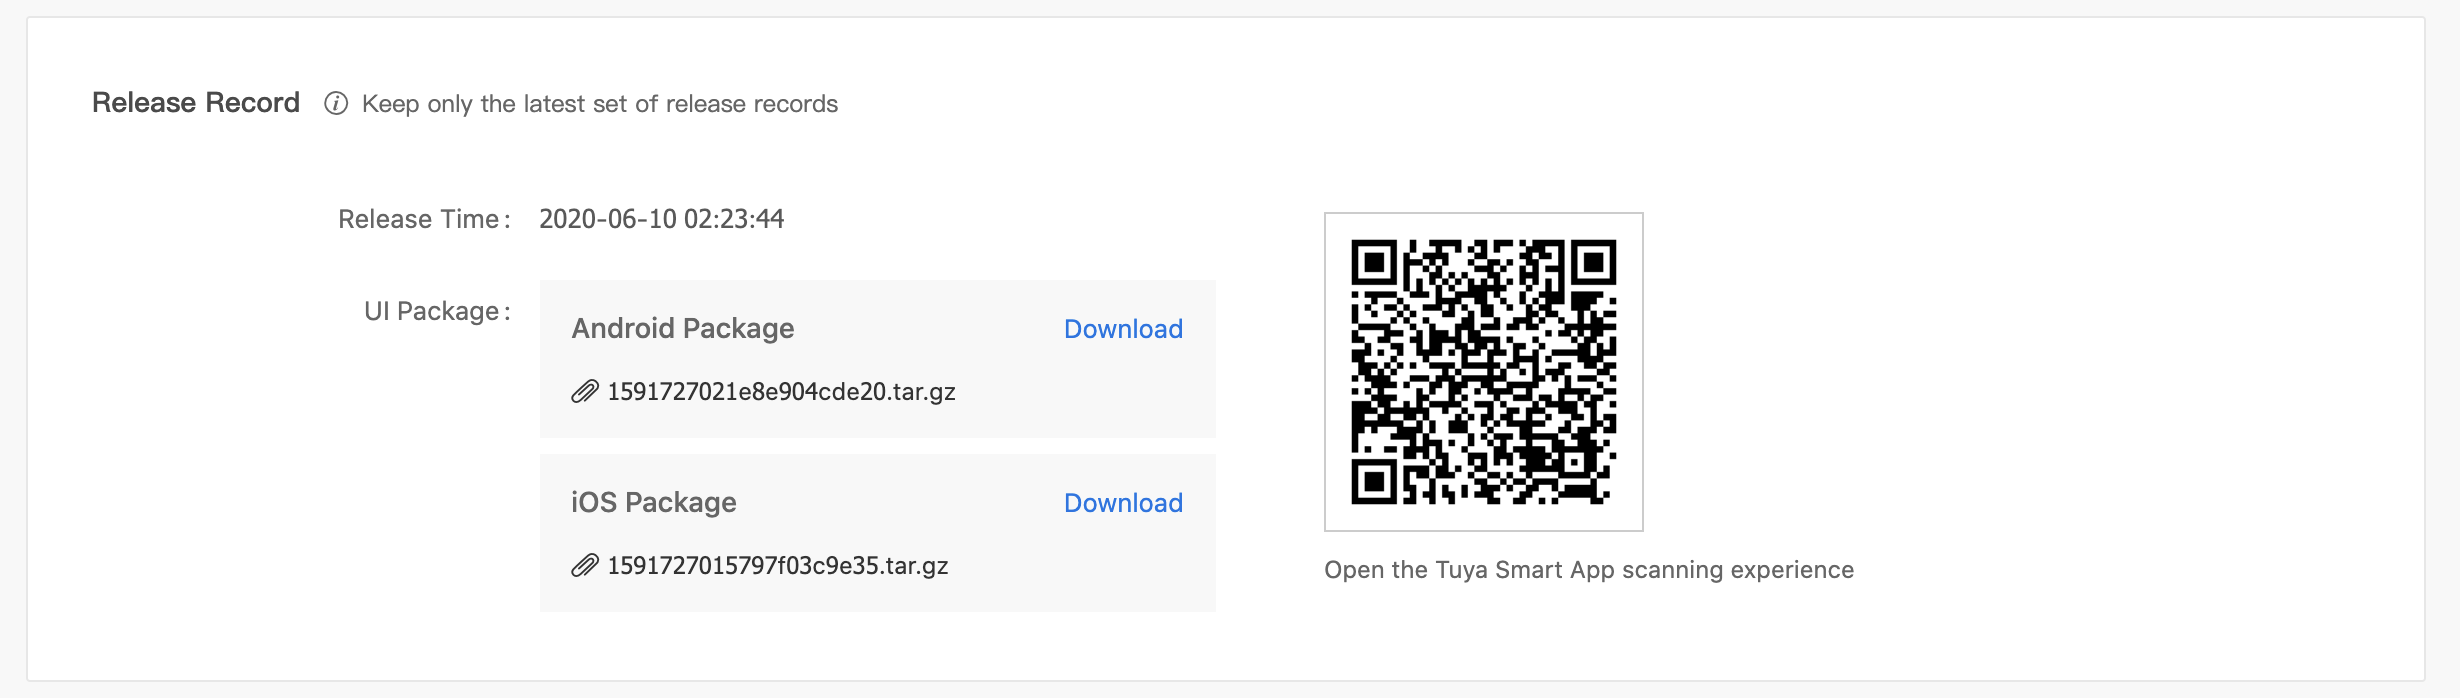
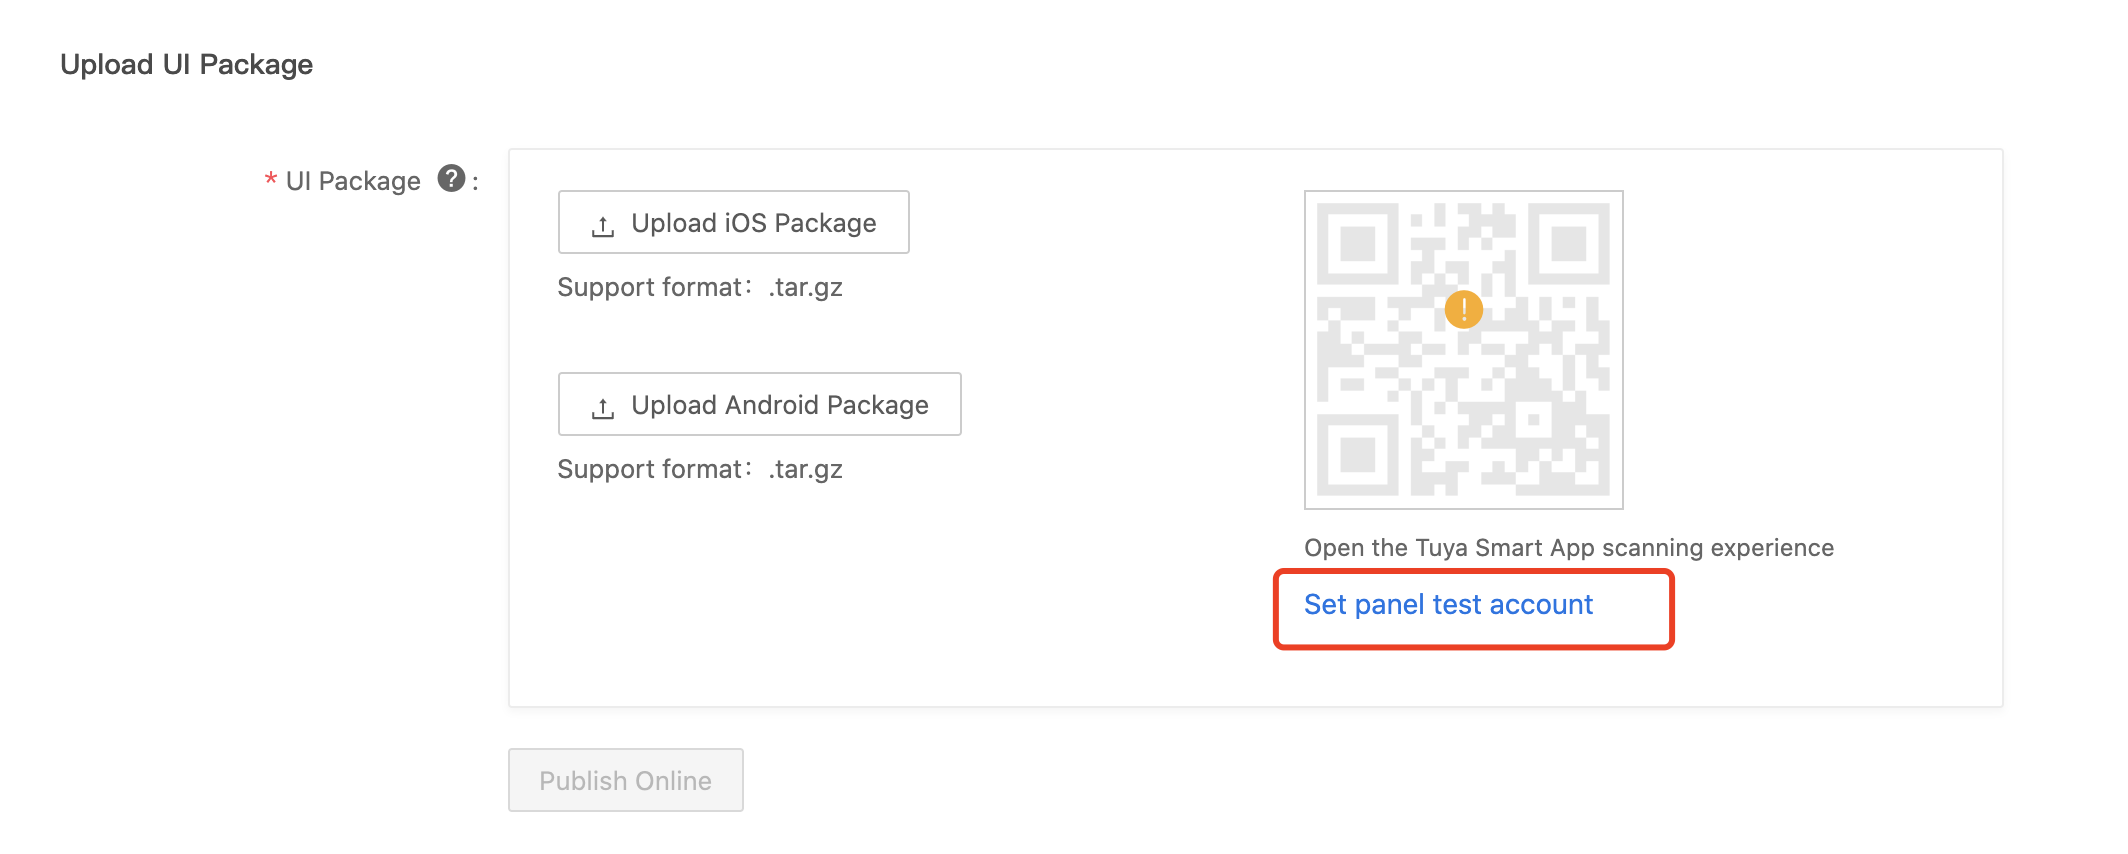
After the upload is complete, a QR code will be generated on the right side of the page. You can click Set panel test account to set Tuya Smart app accounts for testing purposes. And you can quickly experience the UI package by scanning the QR code.
Click Publish Online to publish the UI packages after preview. After published online, an online record of the latest UI package will be generated at the bottom of the page, so that you can experience the online version in real-time.