This topic describes two solutions about how to flash firmware to and authorize BT series modules.
After the module SDK firmware development is completed, you need to flash and authorize the module to enable connection to the Tuya Cloud. Tuya provides the following two flashing and authorization methods for different scenarios.
An integrated solution for flashing and authorization. This solution is made to flash and authorize modules on the Cloud Module flashing Authorization Platform, which is suitable for the release stage.
Separated solutions for flashing and authorization. This solution is made to flash modules with chip flashing tools and authorizes modules on the Cloud Module flashing Authorization Platform, which is suitable for the development stage.
Applicable to the BT Series Module with the core chip of TLSR8250F512ET32. The following models are included.
Since the Tuya module must be authorized to connect to the Tuya cloud, the authorization step cannot be omitted.
This solution is suitable for the release stage. The overall process of this solution is as follows:
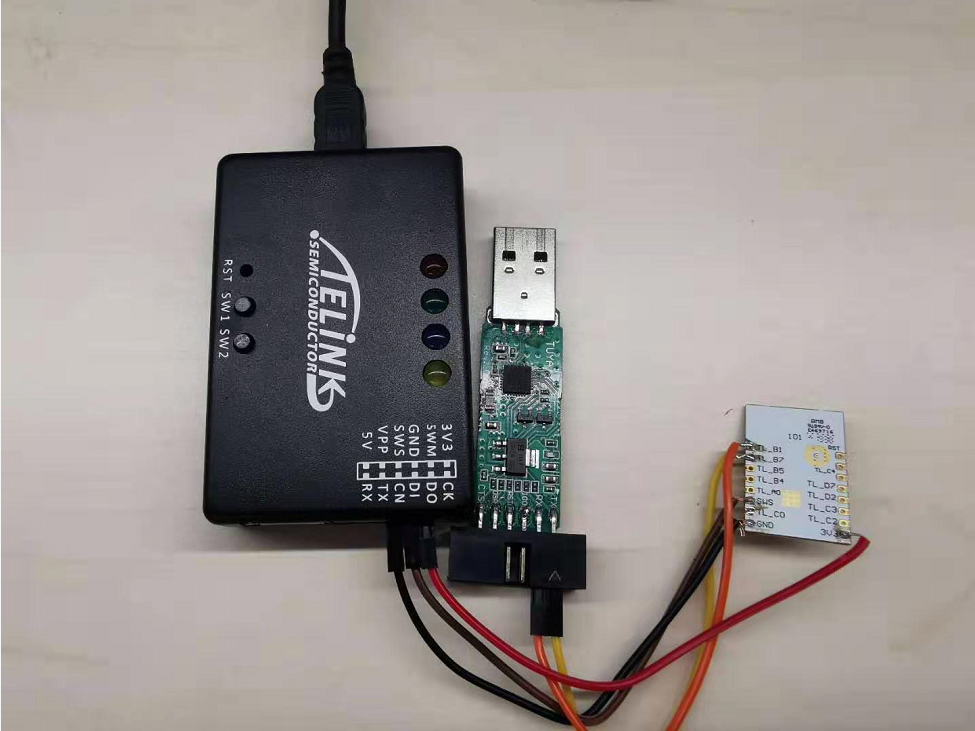
Hardware preparation includes serial port assistant, any module equipped with chip platform TLSR8250F512ET32 (using BT3L Module Datasheet as an example in this topic), Telink Burning and Debugging Tool (BDT), and hardware connection diagram (including the connection diagram of Telink and serial port assistant).

| Module pin | Serial pin |
|---|---|
| TL_B7 (UART RX) | TX |
| TL_B1 (UART TX) | RX |
| GND | GND |
| Module pin | Telink pin |
|---|---|
| SWS | SWM |
| 3V3 | 3V3 |
| GND | GND |
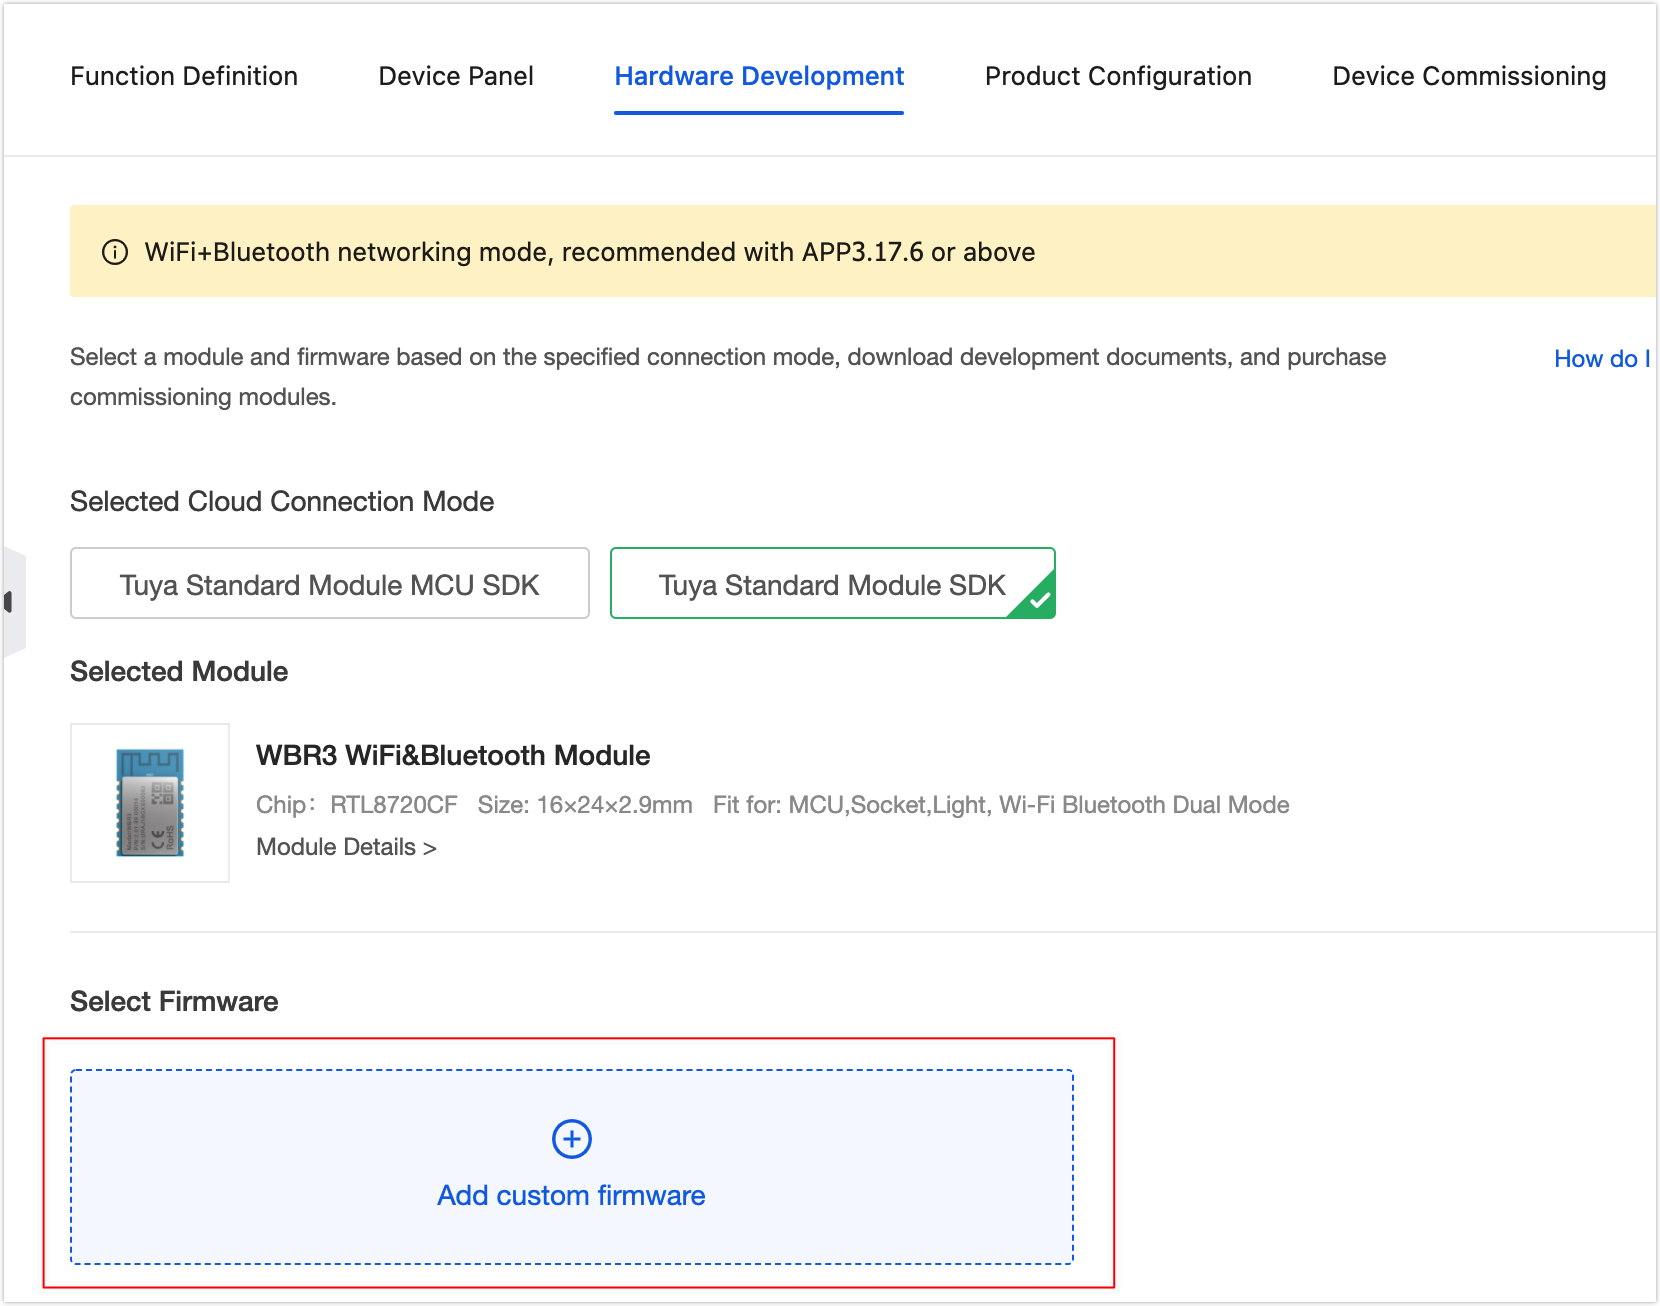
In step 3 Hardware Development of the product development process on the Tuya IoT Platform, click Add custom firmware. Enter the firmware parameters as per the prompts and click OK. In the Generated Firmware area, click Upload production firmware.
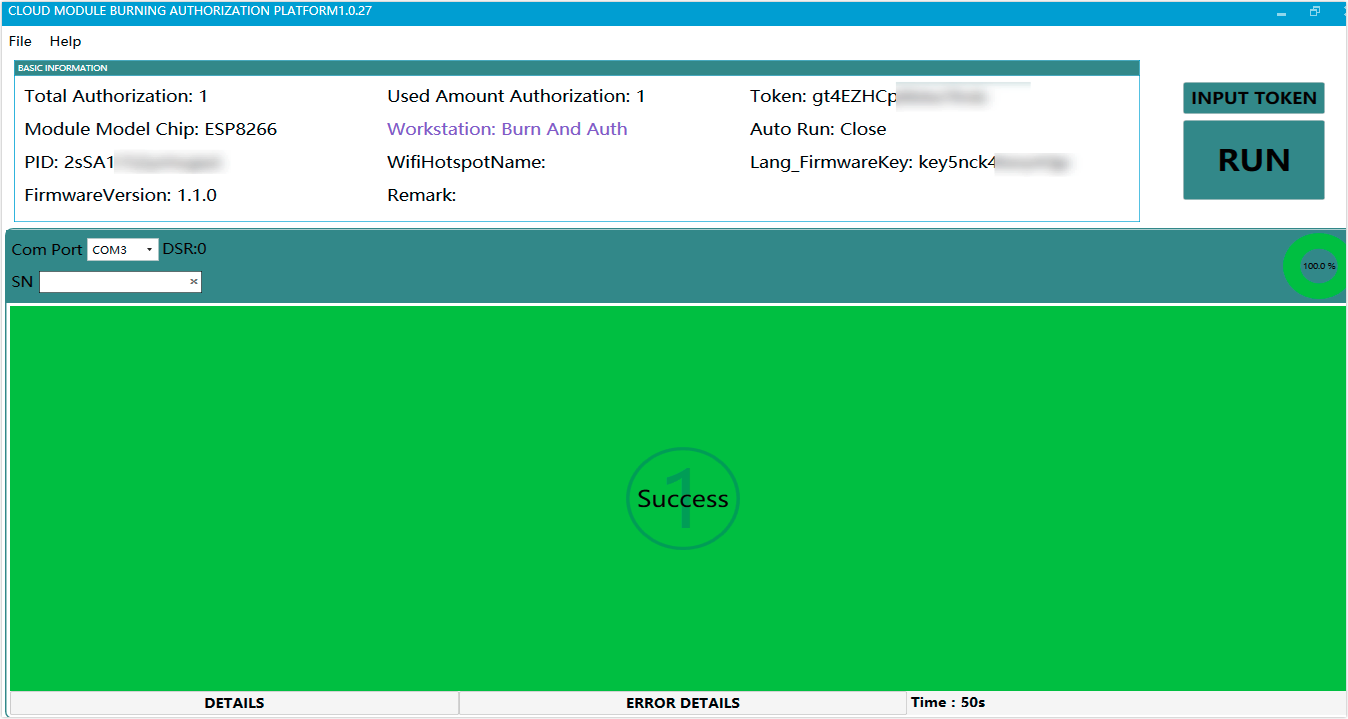
Get the authorization code on the platform according to the PID, and download the Cloud Module Burning Authorization Platform in reference to Burning and Authorization.
Open the Cloud Module Burning Authorization Platform.
Enter the authorization code.

Click Run and wait until the flashing is completed.

The feature of this solution is to authorize once and flash repeatedly, which is suitable for the development stage. If the module has already been authorized once, you need only to modify and flash the firmware demo to make the module work properly.
Hardware preparation includes serial port assistant, any module equipped with chip platform TLSR8250F512ET32 (using BT3L Module Datasheet as an example in this topic), Telink Burning and Debugging Tool (BDT), and hardware connection diagram.
| Module pin | Telink pin |
|---|---|
| SWS | SWM |
| 3V3 | 3V3 |
| GND | GND |

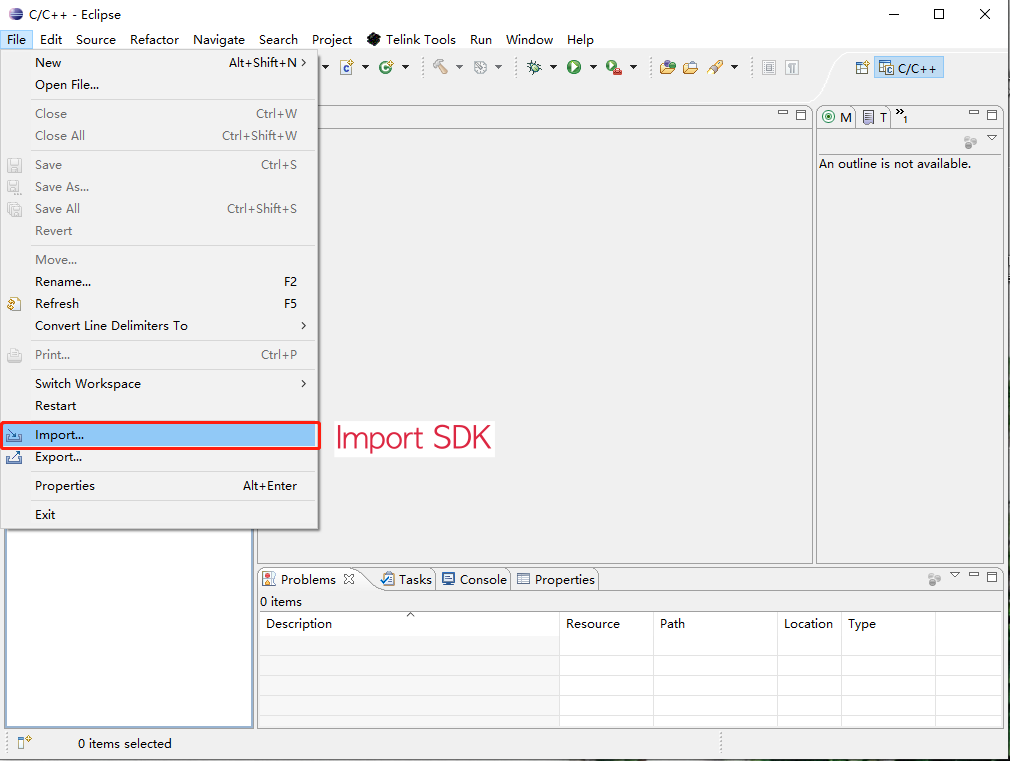
Import the project into the IDE.
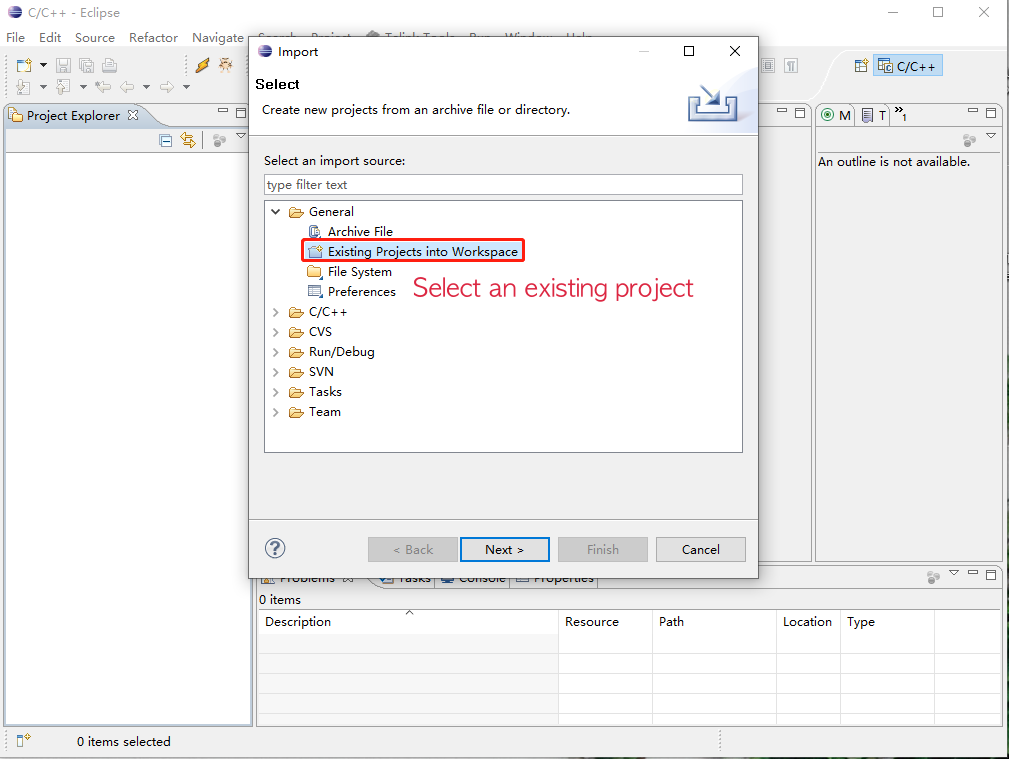
Select an existing project.
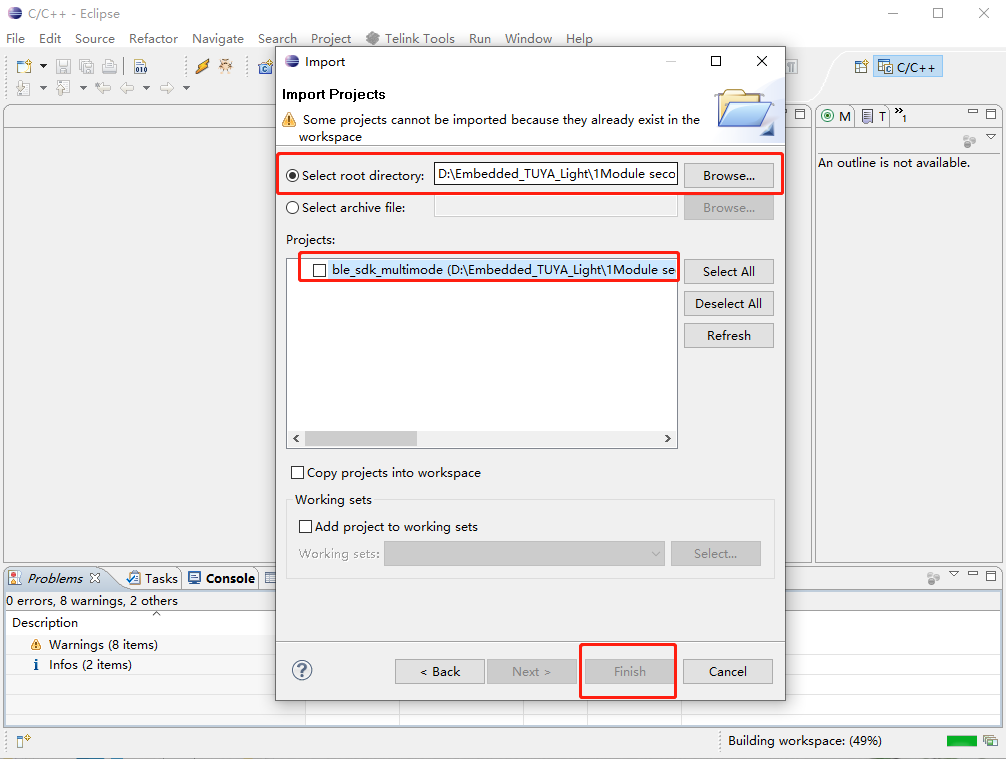
Browse and select the target project, and click Finish.
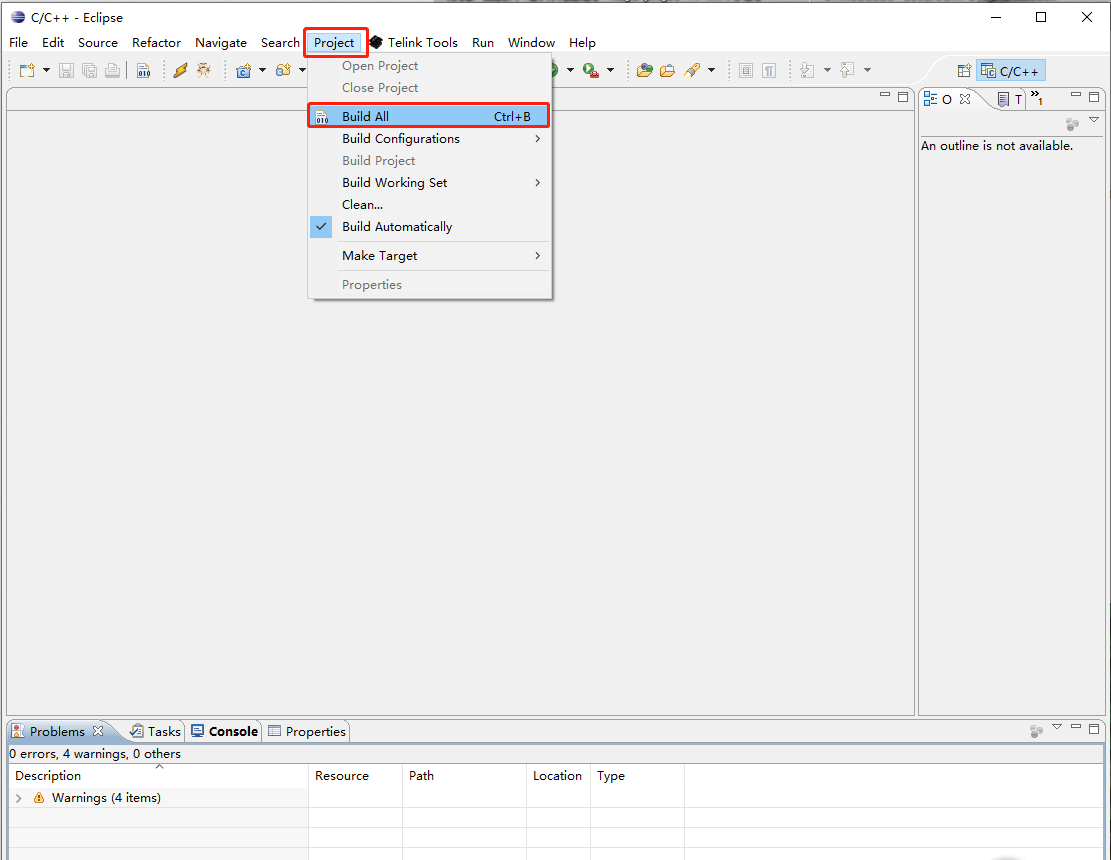
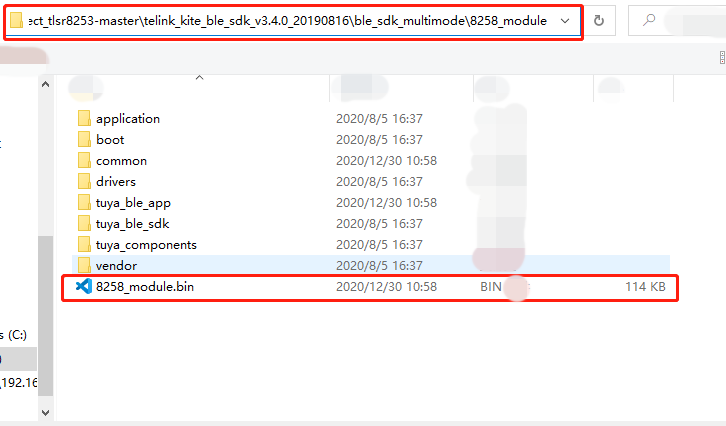
Choose Project>Build All and start compiling the firmware.
After the compilation is completed, open the chip flashing tool and select 8285 and SWS to download the imported file.

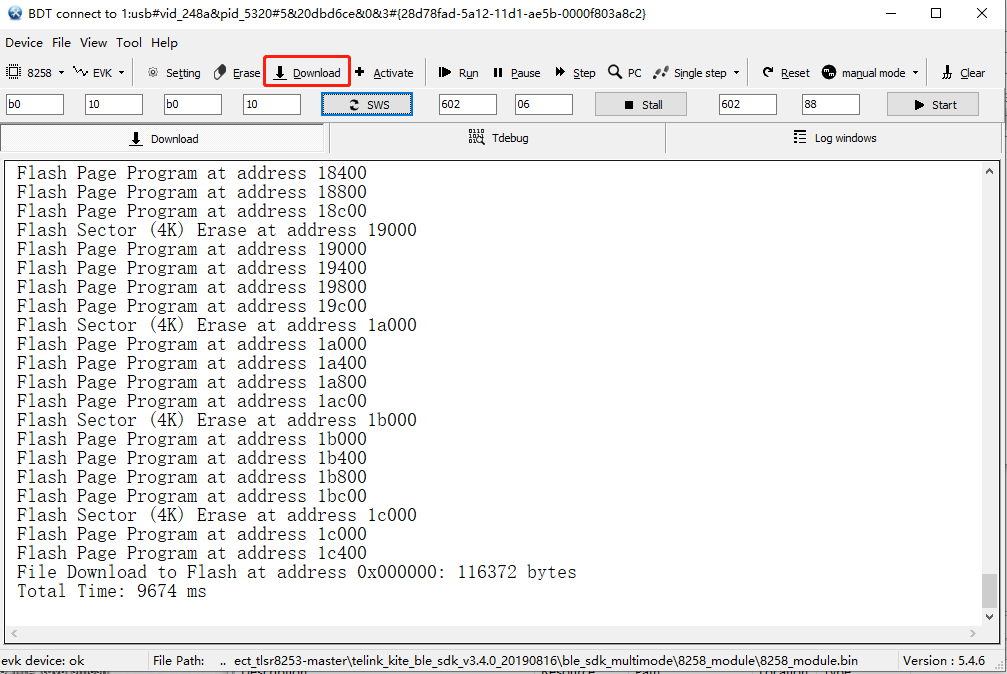
Click Download to download. The following image indicates a successful download.
